
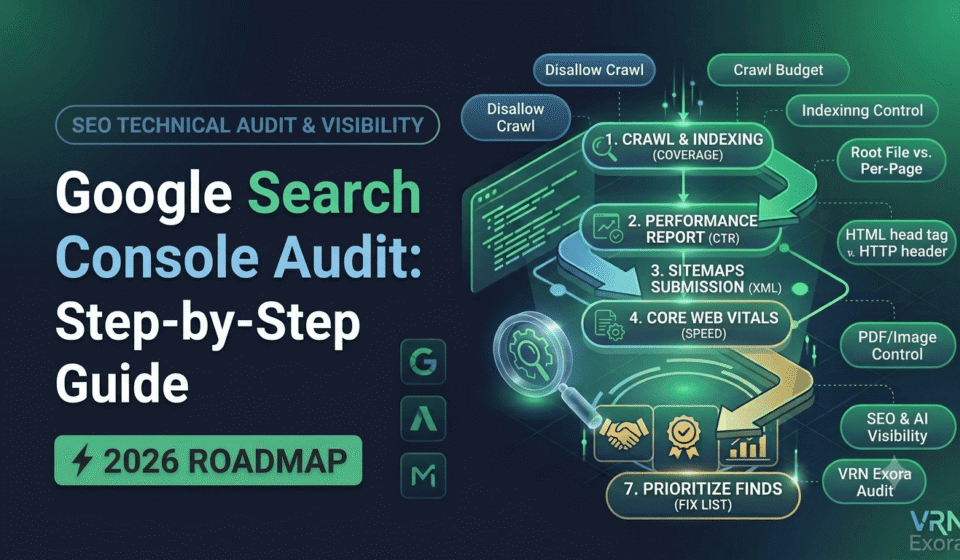

A Google Search Console audit is a structured review of the exact data Google itself reports about your site, covering indexing, crawl health, search performance, and page experience, so you can find and fix what is actually holding your rankings back. This guide is for website owners, in-house marketers, and SEO managers who want to use the one tool that shows Google’s own view of their site rather than a third-party estimate. You will learn the right order to review each report, which numbers actually matter, and how to turn what you find into a prioritized fix list.
What Is a Google Search Console Audit?
A Google Search Console audit is a systematic review of the reports inside GSC, including Performance, Page indexing, Sitemaps, Core Web Vitals, Mobile Usability, and Links, to diagnose why a site is or is not ranking. Unlike third-party crawlers that sample or estimate data, Search Console reports the exact crawl, index, and search behavior Google recorded for your domain, which makes it the most accurate single source for diagnosing indexing and visibility problems.
The audit is not about reading every report top to bottom without a plan. Random checking wastes time and misses issues. The most reliable order is to start with performance, move into indexing and crawl health, then review page experience and page-level opportunities, since each layer tends to explain problems that show up in the one before it.
Step 1: Confirm Property Setup and Verification
Before reviewing any data, confirm the property itself is set up correctly. Search Console supports two property types: a domain property, which covers all subdomains and protocols under one view, and a URL-prefix property, which covers only the exact URL pattern you verify. If your site has both www and non-www versions, or both HTTP and HTTPS, a domain property gives you the complete picture, while separate URL-prefix properties can hide traffic that is actually going to a version you are not looking at.
Check that verification is still active, that the right users have access, and that a sitemap has been submitted. It is common to find legacy properties from an old domain or a staging subdomain still verified and quietly splitting data away from the live site.
Step 2: Start With the Performance Report
Open Performance, then Search results, and set the date range to the last 28 days compared against the previous 28 days. This comparison immediately surfaces which queries and pages gained or lost traffic recently, which is far more useful for an audit than a single flat snapshot.
Review the four core metrics together rather than in isolation:
- Clicks and impressions show whether the page is being shown and whether people are choosing to click it
- Average CTR flags a title or snippet problem when impressions are high but clicks are low. A page with thousands of impressions and a click-through rate under one percent usually points to a weak title tag, not a content problem
- Average position is directional rather than exact. It shifts by query, device, country, and personalization, so use it to prioritize rather than treat it as a precise rank
Filter by your priority keywords and switch to the Pages tab. If more than one URL is receiving impressions for the same query, that is a sign of keyword cannibalization, where pages compete against each other and dilute ranking strength instead of reinforcing it. Also sort the Pages tab by impressions and look for pages with meaningful impressions but very few clicks, since these represent wasted visibility you can often recover with a title or meta description rewrite.
Step 3: Audit the Page Indexing Report
The Page indexing report, formerly called Coverage, shows exactly how many of your URLs are indexed and, critically, the specific reason behind every URL that is not. This is where most real technical problems surface, and it deserves more time than any other single report in the audit.
Pay close attention to the difference between these common statuses:
| Status | What it means | Typical fix |
|---|---|---|
| Crawled, currently not indexed | Google crawled the page but chose not to index it, usually a content quality or duplication signal | Improve depth and originality, or consolidate with a stronger page |
| Discovered, currently not indexed | Google found the URL through a link or sitemap but has not crawled it yet, often due to crawl budget or internal linking | Strengthen internal links to the page and confirm it is not accidentally low priority |
| Excluded by noindex tag | The page is deliberately or accidentally blocked from indexing | Remove the tag if the page should rank, leave it if the exclusion is intentional |
| Alternate page with proper canonical tag | Google is indexing a different URL you pointed it to as canonical | Confirm the canonical target is correct and not the result of a templating error |
| Page with redirect | The URL redirects elsewhere and is not itself indexed | Confirm the redirect target is the intended, live page |
Not every excluded URL needs fixing. The goal is not to reduce the excluded count to zero, since old archive pages, filtered parameter URLs, and thin tag pages are often correctly excluded. The goal is to confirm that your important pages, the ones that should drive traffic and revenue, are not sitting in one of these statuses by mistake. When in doubt about a specific URL, use the URL Inspection tool directly, since the Page indexing report can occasionally show stale data that inspection will correct in real time.
Step 4: Check the Sitemaps Report
Open the Sitemaps report and confirm your XML sitemap is submitted, successfully processed, and free of errors or warnings. Compare the number of URLs discovered through the sitemap against your actual page count. A large gap in either direction is worth investigating, since it can mean the sitemap is outdated, missing new sections of the site, or still listing pages that no longer exist.
If the site has multiple sitemaps, such as separate ones for products, blog posts, and categories, verify each one individually rather than assuming the overall index sitemap covers every issue on its own.
Step 5: Review Core Web Vitals and Mobile Usability
The Core Web Vitals report groups your URLs by real user experience data into good, needs improvement, and poor categories for Largest Contentful Paint, Interaction to Next Paint, and Cumulative Layout Shift. Because Google indexes the mobile version of your site first, prioritize the mobile results over desktop when both are available.
Cross-check this against the Mobile Usability report, which flags issues like text too small to read, clickable elements too close together, or content wider than the screen. A page can pass Core Web Vitals on raw speed while still failing usability on mobile, so both reports need a look rather than just one.
Step 6: Check for Manual Actions and Security Issues
These two reports take only a minute to check but can explain a sudden, unexplained drop in visibility that no other report will show. A manual action means a member of Google’s search quality team has applied a penalty to some or all of the site, usually for violating spam policies. A security issue means Google detected malware, hacked content, or deceptive pages on the site. Either one can suppress rankings site-wide, so confirm both are clear before spending time on smaller on-page fixes elsewhere in the audit.
Step 7: Review the Links Report
The Links report shows your top linked pages, top linking sites, and top linking text, both internal and external. On the external side, use it as a sanity check against your primary backlink tool rather than a replacement for one, since Search Console does not show link quality metrics like domain authority.
On the internal side, check which pages receive the most internal links and compare that against which pages you actually want to rank. It is common to find that a page with real commercial importance is receiving very few internal links, while an old, low-value page is unintentionally over-linked from the main navigation or footer.
Step 8: Find Keyword Cannibalization and Content Opportunities
Export your full query and page performance data and layer it against your content inventory. Look for pages with declining clicks, dropping average position, and falling impressions over the last few months, since these are strong candidates for a content refresh, consolidation, or in some cases pruning entirely if they no longer serve a purpose.
Confirm branded and non-branded queries are separated in your analysis, since a healthy click-through rate on branded search can mask a weak one on the non-branded terms that actually reflect new customer acquisition. This distinction changes which pages deserve attention first.
How to Prioritize What You Find
Not every issue in Search Console deserves the same urgency. Manual actions and security issues come first, since they can suppress the entire site. Indexing problems on important, revenue-driving pages come next, followed by Core Web Vitals and mobile usability issues on high-traffic templates. Title and snippet rewrites for pages with strong impressions but weak CTR are often the fastest wins in the whole audit, since they require no technical work and can lift clicks within days of Google recrawling the page.
Document each finding with the specific report it came from, the affected URLs, and a clear next action. An audit that stays in Search Console without being translated into assigned tasks will not move the needle regardless of how thorough the review was.
Frequently Asked Questions
How often should I run a Google Search Console audit?
Run a full audit quarterly, and check the Performance and Page indexing reports monthly in between. For a site recovering from a recent traffic drop, check weekly until the cause is identified and the trend stabilizes.
What is the difference between Crawled and Discovered, currently not indexed?
Crawled, currently not indexed means Google visited the page and chose not to index it, usually due to quality or duplication. Discovered, currently not indexed means Google knows the URL exists but has not crawled it yet, often because of crawl budget or weak internal linking.
Do I need paid SEO tools if I already use Google Search Console?
Search Console is the most accurate source for crawl, index, and on-site search data, but it does not estimate keyword search volume, show competitor backlinks, or track daily rank changes. Most audits benefit from pairing Search Console with a paid tool for those specific gaps.
Why does average position in Search Console not match my rank tracker?
Average position is an aggregate across every device, location, and search variation that triggered the page, while a rank tracker usually checks from one fixed location and device. Treat the Search Console number as directional rather than an exact daily rank.
What should I check first if my traffic suddenly dropped?
Check Manual Actions and Security Issues first, since either can cause a sitewide drop on its own. If both are clear, compare the Performance report over the last 28 days against the prior period to identify which specific pages and queries lost visibility.
Does Google Search Console show AI Overviews performance separately?
Not in the standard Performance report. Google has been rolling out a separate generative AI performance view to some properties, but it is not yet available to everyone, so most sites still see AI Overview clicks folded into the regular web search totals.
Get a Free Expert Review of Your Search Console Data
Reading Search Console data correctly takes practice, and it is easy to miss an indexing issue quietly costing you traffic. If you want a faster starting point, get a free SEO audit from VRN Exora and see exactly which indexing, performance, and technical issues are worth fixing first.